Tuesday, 15 May 2018

Chocolate Baroque 15 minute card - Floribunda Net


Hello
Another 15minute card for you today.
 See others by the Chocolate Baroque DT team on the blog today.

This is one of my favourite rose samples that I've made, using Floribunda net.


The background was stamped several times over the card using  Bundled Sage and Stormy Sky Distress inks. This was then cut to fit a square card base and an edging drawn around with a wide black pen, to give the appearance of layering.

 The  heart shape had the same colours repeated . I then stamped  the saying first, so that I knew how much space would be left for the rose section on the right.
Matt onto a black heart..


This one has been mounted onto a craft card base.

Thank you for visiting and happy crafting.
Carole


Friday, 4 May 2018

Chocolate Baroque Poppy sample, for a Hochanda show.


Hello.
 
 
 I have a card today showing beautiful poppy stamps. This is fairly quick to make.


It uses  stamps from Chocolate Baroque's  Pretty Poppies set.
I spritzed my card lightly with water and sprinkled two different coloured  Brushos over  and left them to "do their own thing".When this  was dry, I positioned the stamp so it would be over the appropriate colours. The butterfly needed a little more colour, which I painted on.
 
I mounted it onto card, that picks up the colours  of the Brushos.
Thanks for visiting.
Happy Crafting.
Carole


Sunday, 15 April 2018

Chocolate Baroque 15 minute cards - Tall Trees and Floral Harmony


Hello everyone.
Today I have two  cards to show you, using the Tall Trees stamp set and Floral Harmony. They will both take about 15 minutes to make.

Tall Trees


I had a background piece in my stash made with Worn Lipstick and Weathered Wood inks. I really like the bright pink with the grey. Very moody.

I stamped the tree and verse with black Versafine
The Distress ink background uses the same colours, with the leaf over-stamped in the red.


Floral Harmony

What a great stamp this is. It looks good whichever way around it is put and I like that, as it looks slightly different each time. This is a clean, crisp card that can be used for any occasion.


I have stamped the image onto a 21cm x 10.5cm. piece of card and embossed it. Then I cut  around the tips of the left hand leaf, so that the ribbon can be tucked under the edge, as it is wrapped around.

The image is coloured with Brushos, giving a lovely vibrant look. This takes very little time as the colour stays contained within the embossed areas.

Mount onto a coordinated card base.
Any message can be added to this card.

Hope you have enjoyed seeing my cards and happy crafting.
Carole

Wednesday, 4 April 2018

Floral Cards


Hello.

March was a very busy month for me  with so many things going on and  lots of cards to make.
I had six birthdays, various cards for Chocolate Baroque's show on Hochanda on the 3rd April, and  Mother's day, of course.
Keeps me out of mischief.


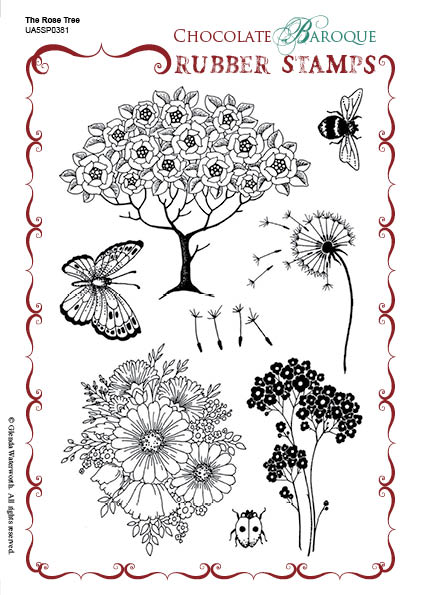
Here are two cards I made with a stamp for the  Hochanda show.  (Rose Tree set).


The Rose Tree Rubber Stamp sheet - A5
.


Love this stamp.  It is so pretty and very versatile. It can be embellished or left plain and still looks good.
 Just realized, I took the photo before I put the message onto the bottom card, but it is suitable for all occasions really.
Thank you for your visit and happy crafting.
Carole

Thursday, 15 March 2018

Chocolate Baroque 15 minute cards - Edwardian Man on Bike and The Road Travelled


Edwardian Man on bike


Hello.
 Today I have two cards to show you which should take no longer than 15 minutes to make.
Always handy when you realize you have forgotten a birthday.


Stamps used: Chocolate Baroque  Eccentric Edwardian


Stamp the bicycle onto the card base and onto a piece of masking tissue.
Cut the mask out. It is an easy shape so doesn't take too long.
Mask the cyclist and over stamp the image with the large text stamp with sepia ink. Remove mask.
Stamp the message tag.
This was then trimmed to a 14cm. (5 1/2inches) square and mounted onto a 15cm.  (6 inch) card base.


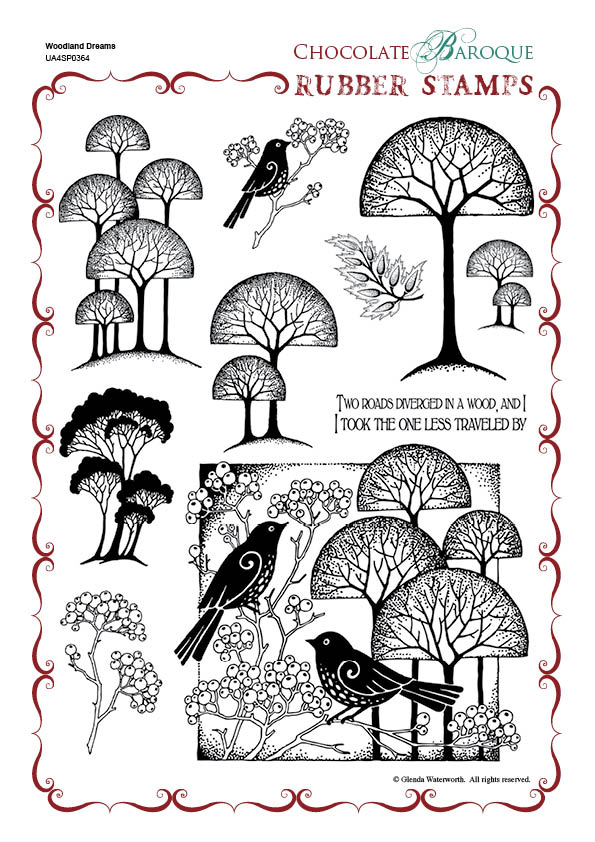
My second card uses a favourite set of mine : Woodland Dreams


    This was one of my very early purchases from Chocolate Baroque, which I still enjoy using regularly.

The background is made with Distress inks: peeled paint, bundled sage and dusty concord.
This has been over-stamped with one of the many tree designs that are in this set.
The bird branch and extra branch have been stamped with Versafine,  and a bit of colour added to the berries.

I have put Glossy Accents on the bird and berries, but I realized this would take longer than the 15 minutes, by the time you have stamped the message and mounted the card up. Just a way to emphasize these elements , if you wish to.

There are several other lovely samples on the design team blog at the moment which will take 15 minutes or less to make. Always useful if time is short.

Thanks for visiting and happy crafting.
Bye for now.
Carole
 

Wednesday, 28 February 2018

Guest Design Team Member Post 3 - Turquoise and green


Good morning everyone.

Today I am showing my final project for this session.
Hope you like it.

A card for a special friend.

I really like the look of white embossing with vivid colours so decided to get my Brushos out which I, shockingly, don't use very much.


Stamps used : Fleurs Nouveau - background
Flora Musica
Amazing Mackintosh words
 
Stamp and white  emboss the beautiful flower border horizontally  down the card, on the left.
This is repeated on the right side, so that the base of the stamp is just touching  the previous stamping.
Stamp and emboss the Flora Musica and then  cut away the background. Stamp the message  with Versafine Magestic blue ink.
 
Now for the Brusho fun.
I did a small section at a time.
 
With a wet brush, paint around the inside of several flowers and then sprinkle on some blue Brusho.
Let it spread, helping it into any holes with the brush.
Repeat with the other flowers and leave to 'do its own thing' for a while.
Dab dry with a cloth.
 
Swipe over the background with a wide, wet brush and repeat the process with a green colour. Help this along by brushing across, trying to avoid the flowers, then leave to spread . Dab if necessary.
 
Repeat with the Flora Musica then leave to dry.
Once the Flora Musica are dry,  cover the flower heads with Glossy Accents. 
 
Trim the side edges off the background , making it  16.5 x 18cm. (6 1/2 x 7 1/8 inches).
These strips are used to make the corner bands at the top of the card, picking up one of the individual flowers as the centre.
Matt and layer onto coordinating card.
The final size of my card was 19 x 19.5 cm. (7 5/8 x 7 6/8 inches)

Hope you have enjoyed my three posts as much as I enjoyed making them, and thank you for the lovely comments you have sent. They are much appreciated.

Happy crafting
Carole


Wednesday, 21 February 2018

Chocolate Baroque GDT. post 2 - Mackintosh Beauty plus Summer Fayre


Good Morning everyone.

This is my second project for the GDT. at Chocolate Baroque  and I have used one of my favourite stamp sets, Mackintosh Beauty. I really like the Mackintosh style and also Art Nouveau.


The lady is so versatile and parts of the image can be cut away to give different looks, Particularly the dress. I did a blog post a while back, showing how this can be achieved. The images below show this.


                                If you cut the bouquet away she can be holding other things too.


Products used: Mackintosh Beauty stamps
Baroque Orchid - background
Versafine inkpads - onyx black, satin red
VersaMark
VersaMagic - Aspen mist, Pink petunia
Clear embossing powder
White embossing powder
Brushos
Thinlits die cut
Light silver grey and red card
Wink Of Stella pen
 
 
The background is repeat stamped  with the Baroque Orchid and red ink. this stamp does not line up, so that is where the die cutting comes in and the positioning of the lady. It hides this well.
 
I swiped this over with an Aspen mist Versamagic inkpad which is a grey/blue colour.
When dry, I went over the whole background with a VersaMark inkpad and clear embossed the whole piece. Then the centre was die cut .
 
The Large flowers are white embossed and the smaller corners stamped with the red Versafine.
Both of these elements are coloured with Brushos to give the lovely vibrant colours.
The lady is stamped with black Versafine and coloured with the pink Versamagic inkpad.
The message is stamped with the red  onto  grey card.


Judith also asked if I would post my next project too, showing a different lady who is equally lovely.


Stamps used: Summer Fayre
Exquisite Edges
Patchwork Butterfly
Artcuts 15cm. heart
Versafine Black Onyx
Watercolour pencils
Wink of Stella clear pen
VersaMagic Aspen Mist
Brilliance black inkpad
Black card or felt
small silver bead trim
Silver metal
border punch
Square  wooden base 25.5cm x 25.5cm ,painted black.
Alcohol ink or markers
 
Background     
I stamped the border frame first with Versafine and cut it down to a square24x24cm.
The flowers were then coloured and a damp brush used to pull the colour out.
The corners were cut from a strip which was punched with a border punch.
This is then mounted onto the base board.
I actually used an old Ikea mirror frame as the base, which was the perfect size.
 
Heart
I stamped the main image onto the heart with a black Brilliance inkpad or you can use another inkpad that doesn't bleed on the wood. 
Make sure this is dry before colouring with the water colour pencils. Pull the colour out with the Wink of Stella pen, but don't put too much moisture on or it will bleed.
 
Ink around the edge of the heart with an Aspen Mist VersaMagic inkpad and stamp tiny butterflies, with the same colour, onto the background. ( I did this with a tiny wooden Artcuts butterfly embellishment).
 
This has been mounted onto a piece of black card or it could be felt.
The bead string was then stuck around the edge with a good quality, clear drying glue.
 
Butterfly embellishment
 
My butterfly is made with silver metal sheet but it could be card.
I have stamped the metal with a permanent inkpad , that dries on non porous surfaces. When the ink was dry, I embossed it  and cut it out.
A little colour was added with alcohol ink.
 
Everything was then assembled.
 
Hope you have enjoyed my projects.
Will be back next week with my final contribution for this period.
Thanks for your visit and happy crafting.
 
Carole  :)