Showing posts with label Artcuts. Show all posts

Tuesday, 28 March 2017

Stampendous - Laurel Burch 3


Good Morning.

More Laurel Burch stamp projects I have been working on.
One quick and simple and the other on a 12cm.  Artcuts heart.


The image has been heat embossed with Jewelled gold powder and coloured with pearlescent paints. The paper was some I found in my stash and I thought the tiny image worked well.


The image on the heart has been coloured with the same paints and then I put glossy accents over the face and birds. Not the best photo, looks washed out! But you get the idea.


The  background on the card is a Creative Expressions - Sue Wilson Die which was a recent purchase and I'm loving it! The other die cuts were a freebie and I can't remember what make they are, but they cut brilliantly.
 
Thank you for visiting.
Carole


Thursday, 12 January 2017

More Chocolate Baroque


Hello all.

Well after my last post I have got a bit carried away with Art Nouveau style .
Love the colours of the Chocolate Baroque challenge too and have been doing several variations on a theme.

I have also used  the Harlequin Rose stamp set, which I have had for a long while and have used it   numerous times. It is probably the most used of all my stamps and never fails to please as it is suitable for all occasions.
It has been  spotlighted on Hochanda  recently, which I was pleased to see.
So out it came again.

Below are a couple of the designs I have been working on with these lovely stamps.


This is a birthday card for my daughter.
I have used the Fleurs Nouveau set again with one of the borders from Exquisite Edges.
The wooden heart is from ArtCuts.


This is the beautiful rose from Harlequin Rose and the edging is done with another of the borders from Exquisite Edges.
 
I have some others started and will post them if I have time.
 
Thanks for visiting.
Carole


Saturday, 30 July 2016

Crafty Individuals - Mini challenge


Hello everyone.

Hope you are having a good day.
I am on a "roll" with my stamping at the moment and have been using my Crafty Individuals  designed by Alice Palace. They are a series of animal stamps and I have submitted my projects into the Crafty Individuals July challenge - Mini masterpiece.


For my first project I used  Dog and banner, as a gift for a friend who likes Bulldogs.


The face of the bull-dog has been stamped onto a 4.5cm. wooden heart from ArtCuts and coloured with watercolour pencils.
The background is coloured with a VersaMagic inkpad.
 
I have stuck a small peg on the back and then a strong piece of magnetic tape, so that the notepad can be stuck onto the fridge. Useful and cute!


This is the card to go with it.


My second project is a  duck brooch.

Again, this has been stamped onto a wooden shape and coloured with water colour pencils and the feet are tiny hearts. I went around the body area with a white Wink of Stella pen to give it a slight shimmer and then put Glossy Accents over the duck.
The background has been coloured with a VersaMagic inkpad, through a strip of tiny sequin waste.


I think the duck is very cute, such a comical creature.
 
 
I really like these stamps as they are suitable for male and female cards according to how they are coloured.
Must get the others out again. One has two rabbits on it  and the other has two skinny runner ducks.


                                     Hope you have enjoyed my projects and please visit again.
                                                                        Bye for now.
                                                                            
                                                                              Carole

Wednesday, 1 June 2016

Craft room plaque


Hello again.
This is just a quick post to show you a plaque that I decorated recently.


Artcuts have several different craft plaques that you can decorate to fit in with  your colour scheme and I think they would make a lovely gift for a crafting friend too.
I used some of the beautiful Chiyogami paper and coordinated the ink pads to stamp a design.


The plaques can also be personalized, like the one below.


You can also get one saying My Craft Space, for anyone who doesn't have a dedicated room.
I don't really have a room that is just my craft space, but it sounds grand!!

Wherever you are crafting, hope you are having an enjoyable time.
                                                                     Bye for now.
                                                                          Carole


Thursday, 28 April 2016

Chiyogami papers - Butterfly heart


Hello to anyone reading this.
Hope your crafting is going well.

I have been having fun using the beautiful Chiyogami papers that ArtCuts sell.

They are gorgeous Japanese, hand  silk- screen printed  papers, that are very robust and brilliant to use.

They are also great to stamp onto, as you can see on the sample.


 The flowers were stamped onto Cherry blossom blue and Cherry blossom lilac papers,  with a Versafine inkpad and  then cut out.


I then  rearranged them onto the heart.  When I was happy with the arrangement I stuck them down with PVA glue.

I swiped a VersaMagic inkpad over the heart to do the background colour. It is easier to do this before sticking the flowers down. I left it until afterwards because I wasn't sure whether to colour all over or just around the edge, as I do like to see the plain wood.


The butterflies were coloured in the same way as the heart, and the embellishments added.
Then they were stuck onto strips of acetate and the other ends were stuck to the back of the heart, so that the butterflies float and bounce. This gives movement to the project.


The flower stamps are in a Hobby Art set called Garden Birds.


Keep an eye on the ArtCuts website, as there will be  some technique snippets coming soon, one of which will be showing how easy it is to cover the shapes, with these gorgeous papers.

Thanks for stopping by.
See you soon.
                                                                          Carole

Monday, 8 February 2016

IndigoBlu January Challenge - Anything Goes


Anything Goes Challenge


Hello again.
Thank you for visiting my blog.

I have decided to try some other challenges and found IndigoBlu had an Anything goes challenge on this month.
I have several IndigoBlu stamps and  one I am particularly fond of  is Blue's look out.


I have made several heart decorations for my cat loving friends, and decided to make one for myself. The picture  reminds me of one of our old cats peeking out of the flowers, waiting to pounce on the squirrel. Always unsuccessfully, I might add!


The cat has been stamped onto a 10.5 cm. heart from ArtCuts, a laser cutting co., and small sections coloured. 
 
I mounted the heart onto a black card heart and then stuck it onto a 15cm. heart that has a crackle finish to it.
The little wooden butterflies and the Love word, are also from ArtCuts.
 
When I make a project I  'waste' a lot of time trying to decide on the layout that I prefer.
Chris, a friend of mine, tells me not to overthink it and to try and be spontaneous. Easier said than done for me, but I see the sense in this advice.


 I tried several layouts before deciding on the one above.  I find that if I take a photo of each one and then look at them all together on a screen I can usually make a reasonable decision.
So that's what I did and you can see the result below.


                                Still think I prefer the first, asymmetrical layout, but 'hey ho!!'


This stamp also looks good on a smaller, 8 cm. heart, with Blue just peeking into the shape.

Thank you for visiting.
 If you have this stamp, I hope you enjoy using it as much as I do.

Bye for now.
                                                                             Carole


Monday, 11 January 2016

Dove frame


Hello again .
Just a quick post to show a project which I really enjoyed  making  and  had forgotten I'd made it!!

This was made as a sample for the Manchester Handmade Christmas fair in November , not as a decoration, but as a gift idea.


I also think it would be  lovely as a  wedding gift, as the doves are ideal for this.

I fancied making several and stringing them up as a garland. I think they would look lovely with wedding photos in the frames. Just haven't got around to doing it yet. Always something else to do!!

All the wooden shapes are available from ArtCuts and the frame has been covered with one of their screen printed, handmade papers which are great to work with.

Thanks for visiting
Carole


Thursday, 3 December 2015

Chocolate Baroque challenge 17


Hello again.


Love the new Chocolate Baroque challenge colours, they fitted in very well with a project I was making with an ArtCuts oval bauble shape. Aren't they gorgeous? There are lovely samples on the challenge web site.


I embossed the oval bauble with a lovely turquoise embossing powder I had forgotten I had.
 I put several layers on and then embedded one of the Chocolate Baroque stamps from Exquisite Edges,  into the hot melted embossing powder, to get the impression. Then it was brushed over with gold pigment powder.

 I really like this technique and haven't used it for a long time. Must do some more now.


The background was stamped with VersaMagic,  and brushed over with gold pigment powder.
It was then sprayed with cheap hairspray, to fix it, otherwise you get fingerprints all over your work. I did the same with the bauble.

I covered some tiny hearts with turquoise and gold handmade paper, from ArtCuts and stuck them on.
The Noel was made with some very old letter brads that I found in my stash. Very useful.

Thanks for looking and hope you visit again.
 
Carole


Friday, 27 November 2015

Kirstie Allsop's Handmade Christmas Fair - Manchester.


Hello to anyone reading this.
Thank you for visiting my blog.

I am writing this as a very tired , but happy person, who has recently returned from the Handmade Christmas Fair in Manchester Central,  with Artcuts.

We had a great time and were very busy demonstrating different projects and doing three Make and Take sessions.

Our Make and Take went well  and we met many lovely people, who were  very enthusiastic crafters.
 Thank you to any one  who visited Artcuts stand. Hope you had a good day.


The show was held at Manchester Central , just a couple of minutes walk from our hotel.

A great venue surrounded by buildings with lovely architecture. I spent most of my time looking up , as we walked around. 


We were also excited that the Christmas market was on, so we wandered around that one evening,  after the show. It was quite magical.


 This civic building had the most amazing ceilings that we could see from the square.
I would love to have had the time to visit this building.
Perhaps next time.


Here are a couple of things I made for the show.


The bunting went on the tree that ArtCuts had sponsored in the entrance lobby. I stuck on the  ArtCuts embellishment shapes and used Wink of Stella clear and white pens and glitter to add twinkle.
. We did all the decorations for this in green and red and stamped them with Hobby  Art  Christmas stamps.

It looked very pretty when it was finished and was positioned right by the café, which was great.


/
Unfortunately, my photos do not do it justice.
The lovely green and red heart bunting was done by Chris,  and can be seen on her  blog. (sketching stamper).

The tree next to the stand was decorated with different blues and white and looked very pretty too.
Again, rubbish photo. but you get the idea!!

 Chris has the Fergus heart bunting on her blog now, that you can see in the photo. It is beautiful.
Fergus is another Hobby Art stamp we used at the show.


Will show some more next time.
Bye for now.
Carole


Sunday, 13 September 2015

Fairy Heart


Hello to anyone reading this.
Hope your day is good.

Well, today I have couple of samples  using a stamp which I would normally shy away from, a fairy!! For anyone  who knows me, you will know that this is VERY unusual for me.

I was asked to try it for a new kit that is being launched by Artcuts at the Kirsty Allsop Handmade show at Hampton Court, in September. But shock horror!!!, I found that I got carried away 'playing' with it afterwards.

Even my mother commented that, "for someone who doesn't like fairy stamps, you seem to be doing alright with your samples". So that was nice to hear.

But, I have to admit, I have enjoyed working with this stamp.


It is a Lavinia fairy called Giselle,  and in this first sample I have used it in conjunction with a Chocolate Baroque  stamp called Fantastic Florals, as the background.
 The tiny butterflies are Artcuts embellishment butterflies, coloured and glittered.


I like the fact that you can use part of the stamp and she still looks good. So she fits on the smaller heart too.
 
I have also used her with a Hobby Art  daisy stamp on the background.
I will show you this next time as I haven't managed a photo of it yet.
 
Hope you visit again soon
Best wishes
Carole


,

Tuesday, 23 June 2015

Owls


Hello to anyone reading this and thank you for visiting.

Today, I have been playing with owls again.
It seems to have been a long time since I've done this.

I have many owl stamps as I have mentioned before, but I recently purchased a Lindsay Mason stamp  called Zendoodle Big Owl Ready to Go, which I really like.

It's a lovely stamp in it's own right, on the left of the picture below, but I was really pleased to see that it fitted beautifully on the Artcuts owl shape too, on the right of the picture.


On the sample above, I have stamped and heat embossed onto black and then coloured with pearlescent powders. This is a technique I often use as I like the effect.


On this one, I have heat embossed the image onto the wood and then it has also been coloured with pearlescent powders. Tiny hearts have been stuck on for the wings.

The embossing folder behind is an old Cuttlebug folder which I have had for years and it is so useful as a background for all my owl stamps.

Thank you for visiting and I hope your day is as beautiful as it is here.

Bye for now.
Carole


Sunday, 10 May 2015

New die-cut


Hello to anyone reading my blog.
Thank you for visiting.

I have recently purchased a gorgeous die cut from Poppystamps.

Originally I bought it because I thought it would work well with my various owl stamps, as a frame, but it is proving to be very useful.
It is called Massa Leaf frame and works well whichever way it is put, which I like.

The cards below show that it looks good  in two directions and I am still trying to decide which way around I prefer.
I may never make a definite decision on this one!!


The stamp is by Chocolate Baroque and is stamped onto a wooden square from Artcuts.
I have coloured it with H2o paints.


Again a Chocolate Baroque stamp, this time coloured with water colour pencils on an Artcuts heart.
 
These wooden shapes are made from a good quality birch ply which gives a lovely surface for stamping and colouring.
 
 
Hope you have enjoyed this post and thanks for looking.
Any comments on which way round you think looks best, will be gratefully received.
 
Bye for now.
 
Carole

Wednesday, 24 September 2014

Time for tea.


Teatime plaque

Hello again.
Welcome to anyone I met at the Handmade fair on Friday, at Hampton Court.
What an amazing venue!
I had a great time speaking to new, and experienced crafters, and there was loads of interest in the Artcuts products.

I hope everyone who came had an enjoyable day and thank you for all the positive feedback.

Just a quick post today to show a plaque that quite a few people admired.


The board was painted with the pink coloured acrylic paint, left to dry, then a crackle glaze put on top. When this was dry, I painted over with the light colour and left it to dry and crackle.
 
 
The teapot and cups were painted and when dry, I scuffed the edges.
The heart shapes and letters were stuck down with full strength PVA glue.
The stamping was done with a Versafine black inkpad, using stamps from Hobby Art.
 
Seeing the photo of the plaque now, I think it would have looked better if the flowers had been stamped with a pink colour rather than black.
Next time!! 
 
Thanks for visiting
Carole


Wednesday, 3 September 2014

Artcuts Dog

Hello everyone.

I've been having great fun playing again with the wooden shapes.

On a previous post I showed you a cat that I had made with various shapes, and I felt that the dog enthusiasts were being left out.

So,  here are the dog samples I did for the Stamparama show in Stevenage recently, and I think they turned out really cute.
It's a toss up as to which I prefer.


The black dog's body  had a design stamped onto it and embossed with silver embossing powder. I used an Inkylicious  butterfly stamp for this as it has a lovely flourish design for the wings.
It was then painted over with a watered down acrylic paint. Some areas were then covered with a silver metallic pen and ,when this was dry, sanded back.


The brown dog was coloured with Distress stains.
These are lovely on the wood as they are transparent and you can still see the patterns of the wood grain underneath, which I like to see.
The ears and tails are different shapes in both dogs and the eyes are slightly different sizes. The bone added a finishing touch.


The dogs were quite well received, particularly with the youngsters who attended the show.

I always  enjoy chatting to people when I am demonstrating  and getting feedback from them. I particularly like to listen to the children as they are always very open with their comments.

 One young lad wanted to make the brown dog and we discussed how it was put together and he took a photo to remind him. I explained to him how I always take ages to find the expression that I like. By moving the eyes and nose into different positions the expression can be changed.

I usually draw around the shapes and put the facial elements into different positions to see which expression I like best. I "waste" so much time doing this, but time well spent I feel!

He agreed that this was a good idea and said that he wanted a sad dog.  I showed him how the eye position can be changed to achieve this. He also observed that the head piece on each dog was a different way around. Again this changes the look of the face.

As he went away he thanked me and earnestly told me that he thought he would be spending quite a long time making the dog to get it just right.

That made my day!
To think that he was going to get so much enjoyment out of making the dog, just as I had done.


I asked him to take a photo to show me next time. I hope he is able to as I'd love to see what he did.

Since writing this the young man  mentioned above has sent Artcuts a photo of his work. He did a good job . It looks great , well done to him.

Hope you like them too.
Enjoy
Carole

Wednesday, 6 August 2014

More Artcuts hearts


Stamping onto wooden hearts by Artcuts

 I thought you might like to see a few more hearts stamped with some of my favourite stamps.

I generally like to use fairly bold designs, as you can see. They are stamps from various companies.
 Chocolate Baroque, Indigo Blu, Woodware, being the main stamps I like to use.


This is one of my particular favourites by indigo Blu. I have done several things with this stamp and am in the process of making a necklace pendant at the moment.


He just needs some crowns to go either side of him, to complete the banner.
It's so sweet.


I have stamped straight onto the wood with Versafine and then coloured. with watercolour pencils. The background colour is done with a variety of mediums, Versamagic and Brilliance inkpads are my favourite way of colouring the backgrounds but slightly watered down acrylic paint gives a lovely light  wash effect, and can look good too.
 
 
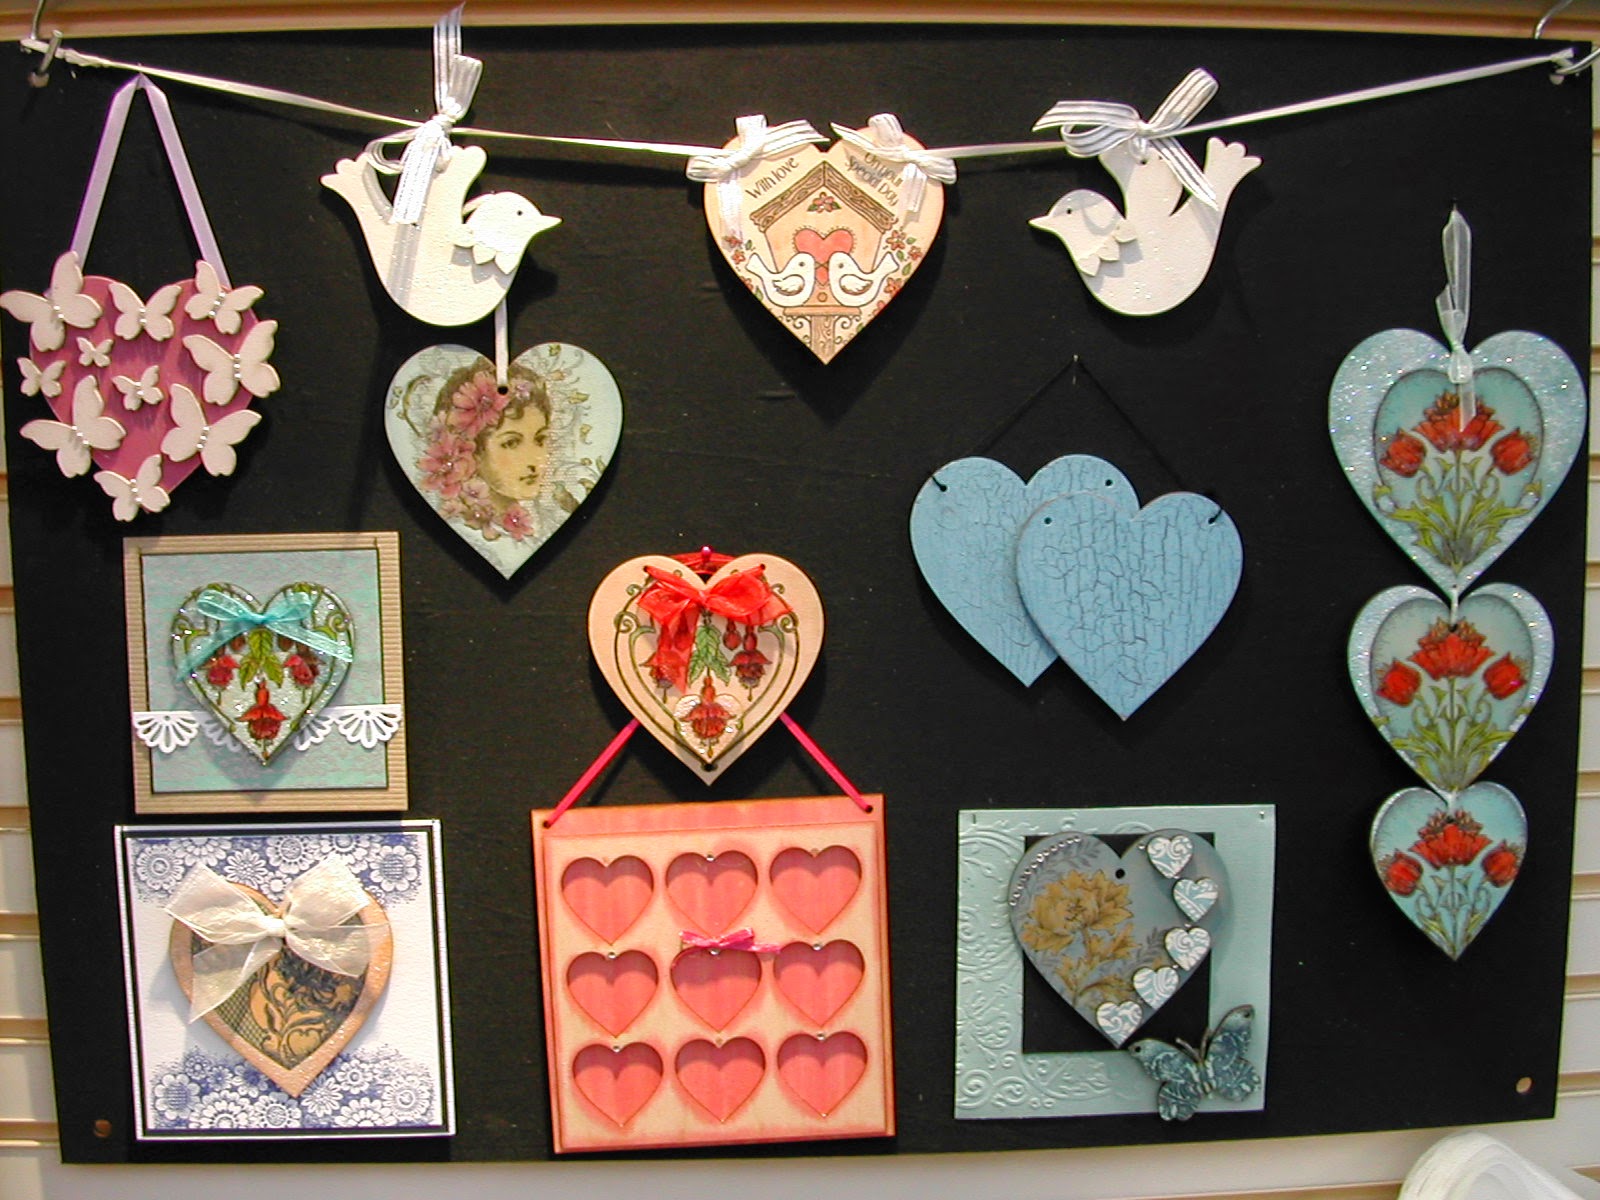
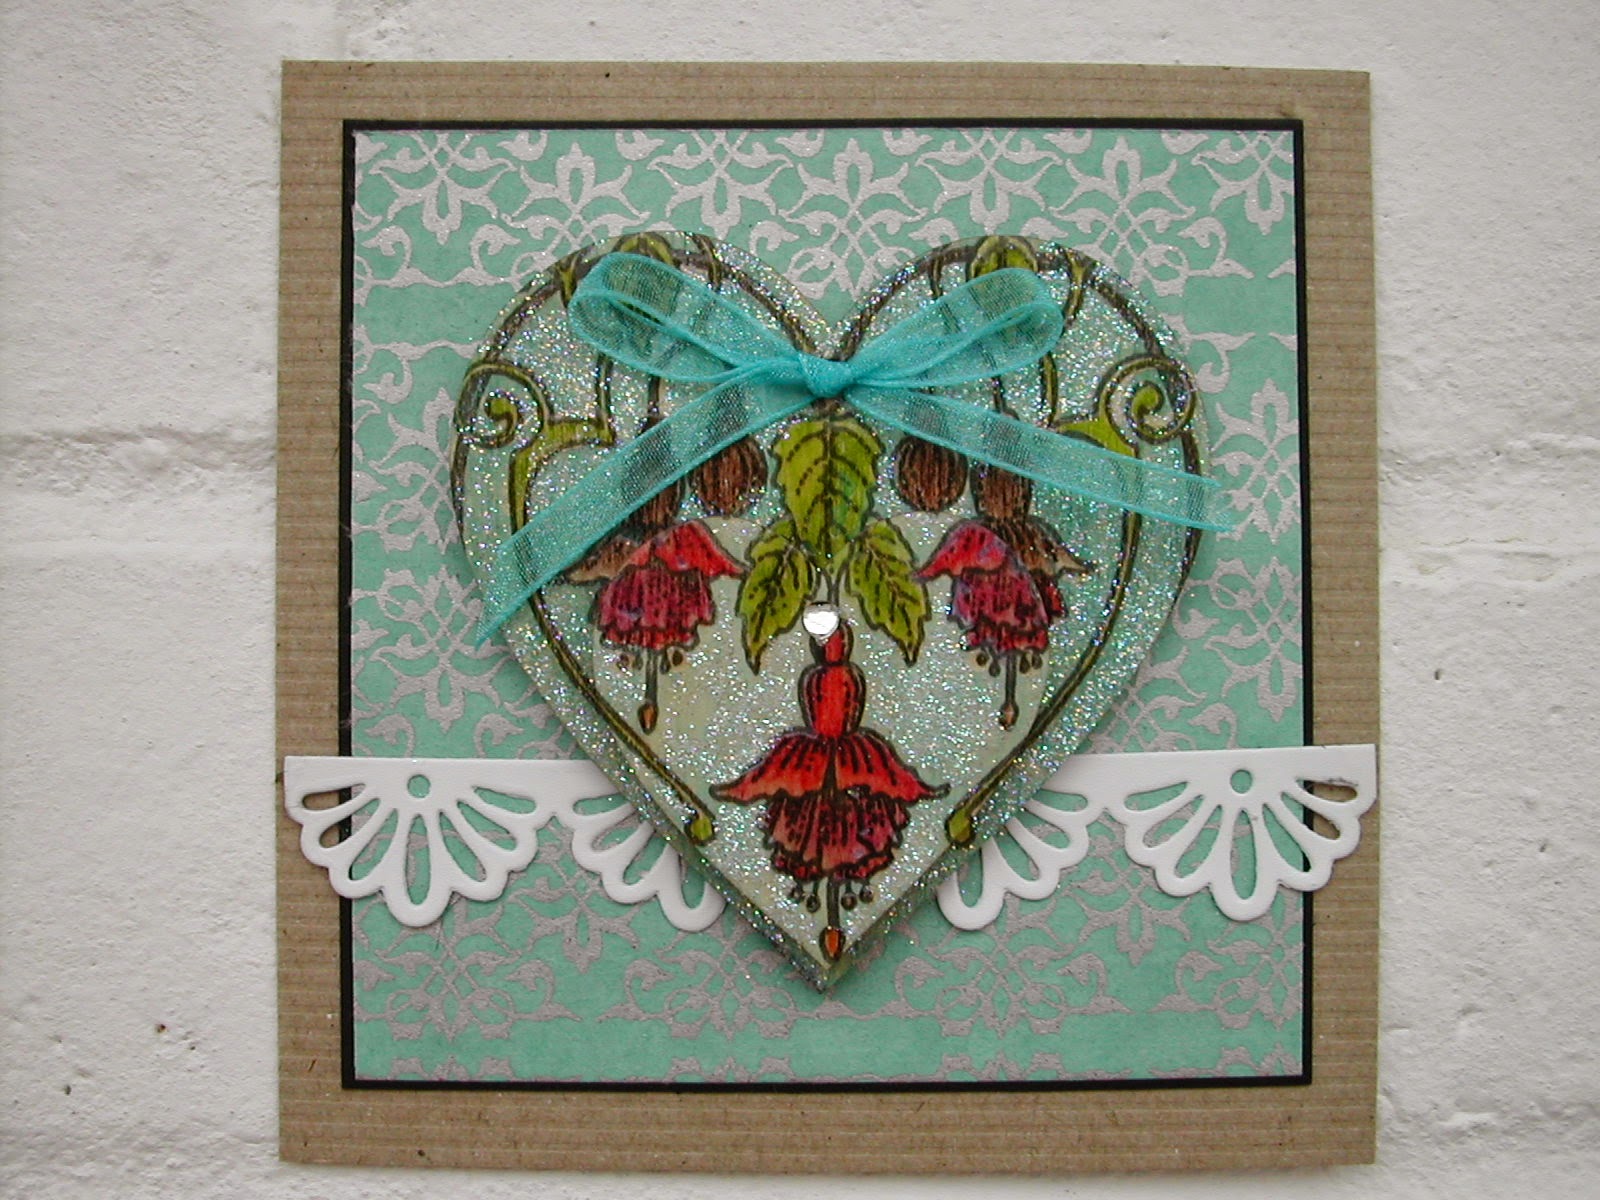
This is a close up of one of my favourite cards. it is stamped with a gorgeous fushia stamp by Chocolate Baroque. The background paper is one of the lovely handmade screen printed papers that Artcuts sells.


I have overlaid a smaller heart over the big heart, although it is difficult to see this in the photo.
 
Thank you for visiting.
 
Carole

Monday, 9 June 2014

Teddy Bears' Picnic

Hello to you  all on this gorgeous sunny Monday.

Hope the weather is being kind to you wherever you are.


Today I'm doing cute!

 This doesn't happen very often , but I have a Teddy bears' picnic plaque to show you, which was made with some of the Artcuts shapes that I haven't used before.


The Teddy's were painted with watered down PVA glue and then glitter was sprinkled over.
Very simple but effective.
When dry , they were sprayed with a cheap hairspray. This stops the glitter from coming off so easily.

The plaque, bunting and cupcakes have been coloured with Versamagic inkpads and then stamped with letters from Hobby Art.
This alphabet set of stamps is great as they are just the right size for the little triangular bunting shapes.

As I'm on a cute theme, this is a plaque that I did around Easter time too.


The stamped background  is done with Chocolate Baroque Floral Edges stamps.

Thanks for visiting.
Carole